How to Apply Your Press On Nails
Follow these tips from professionals on how to apply your new BLING BAR Press Ons.
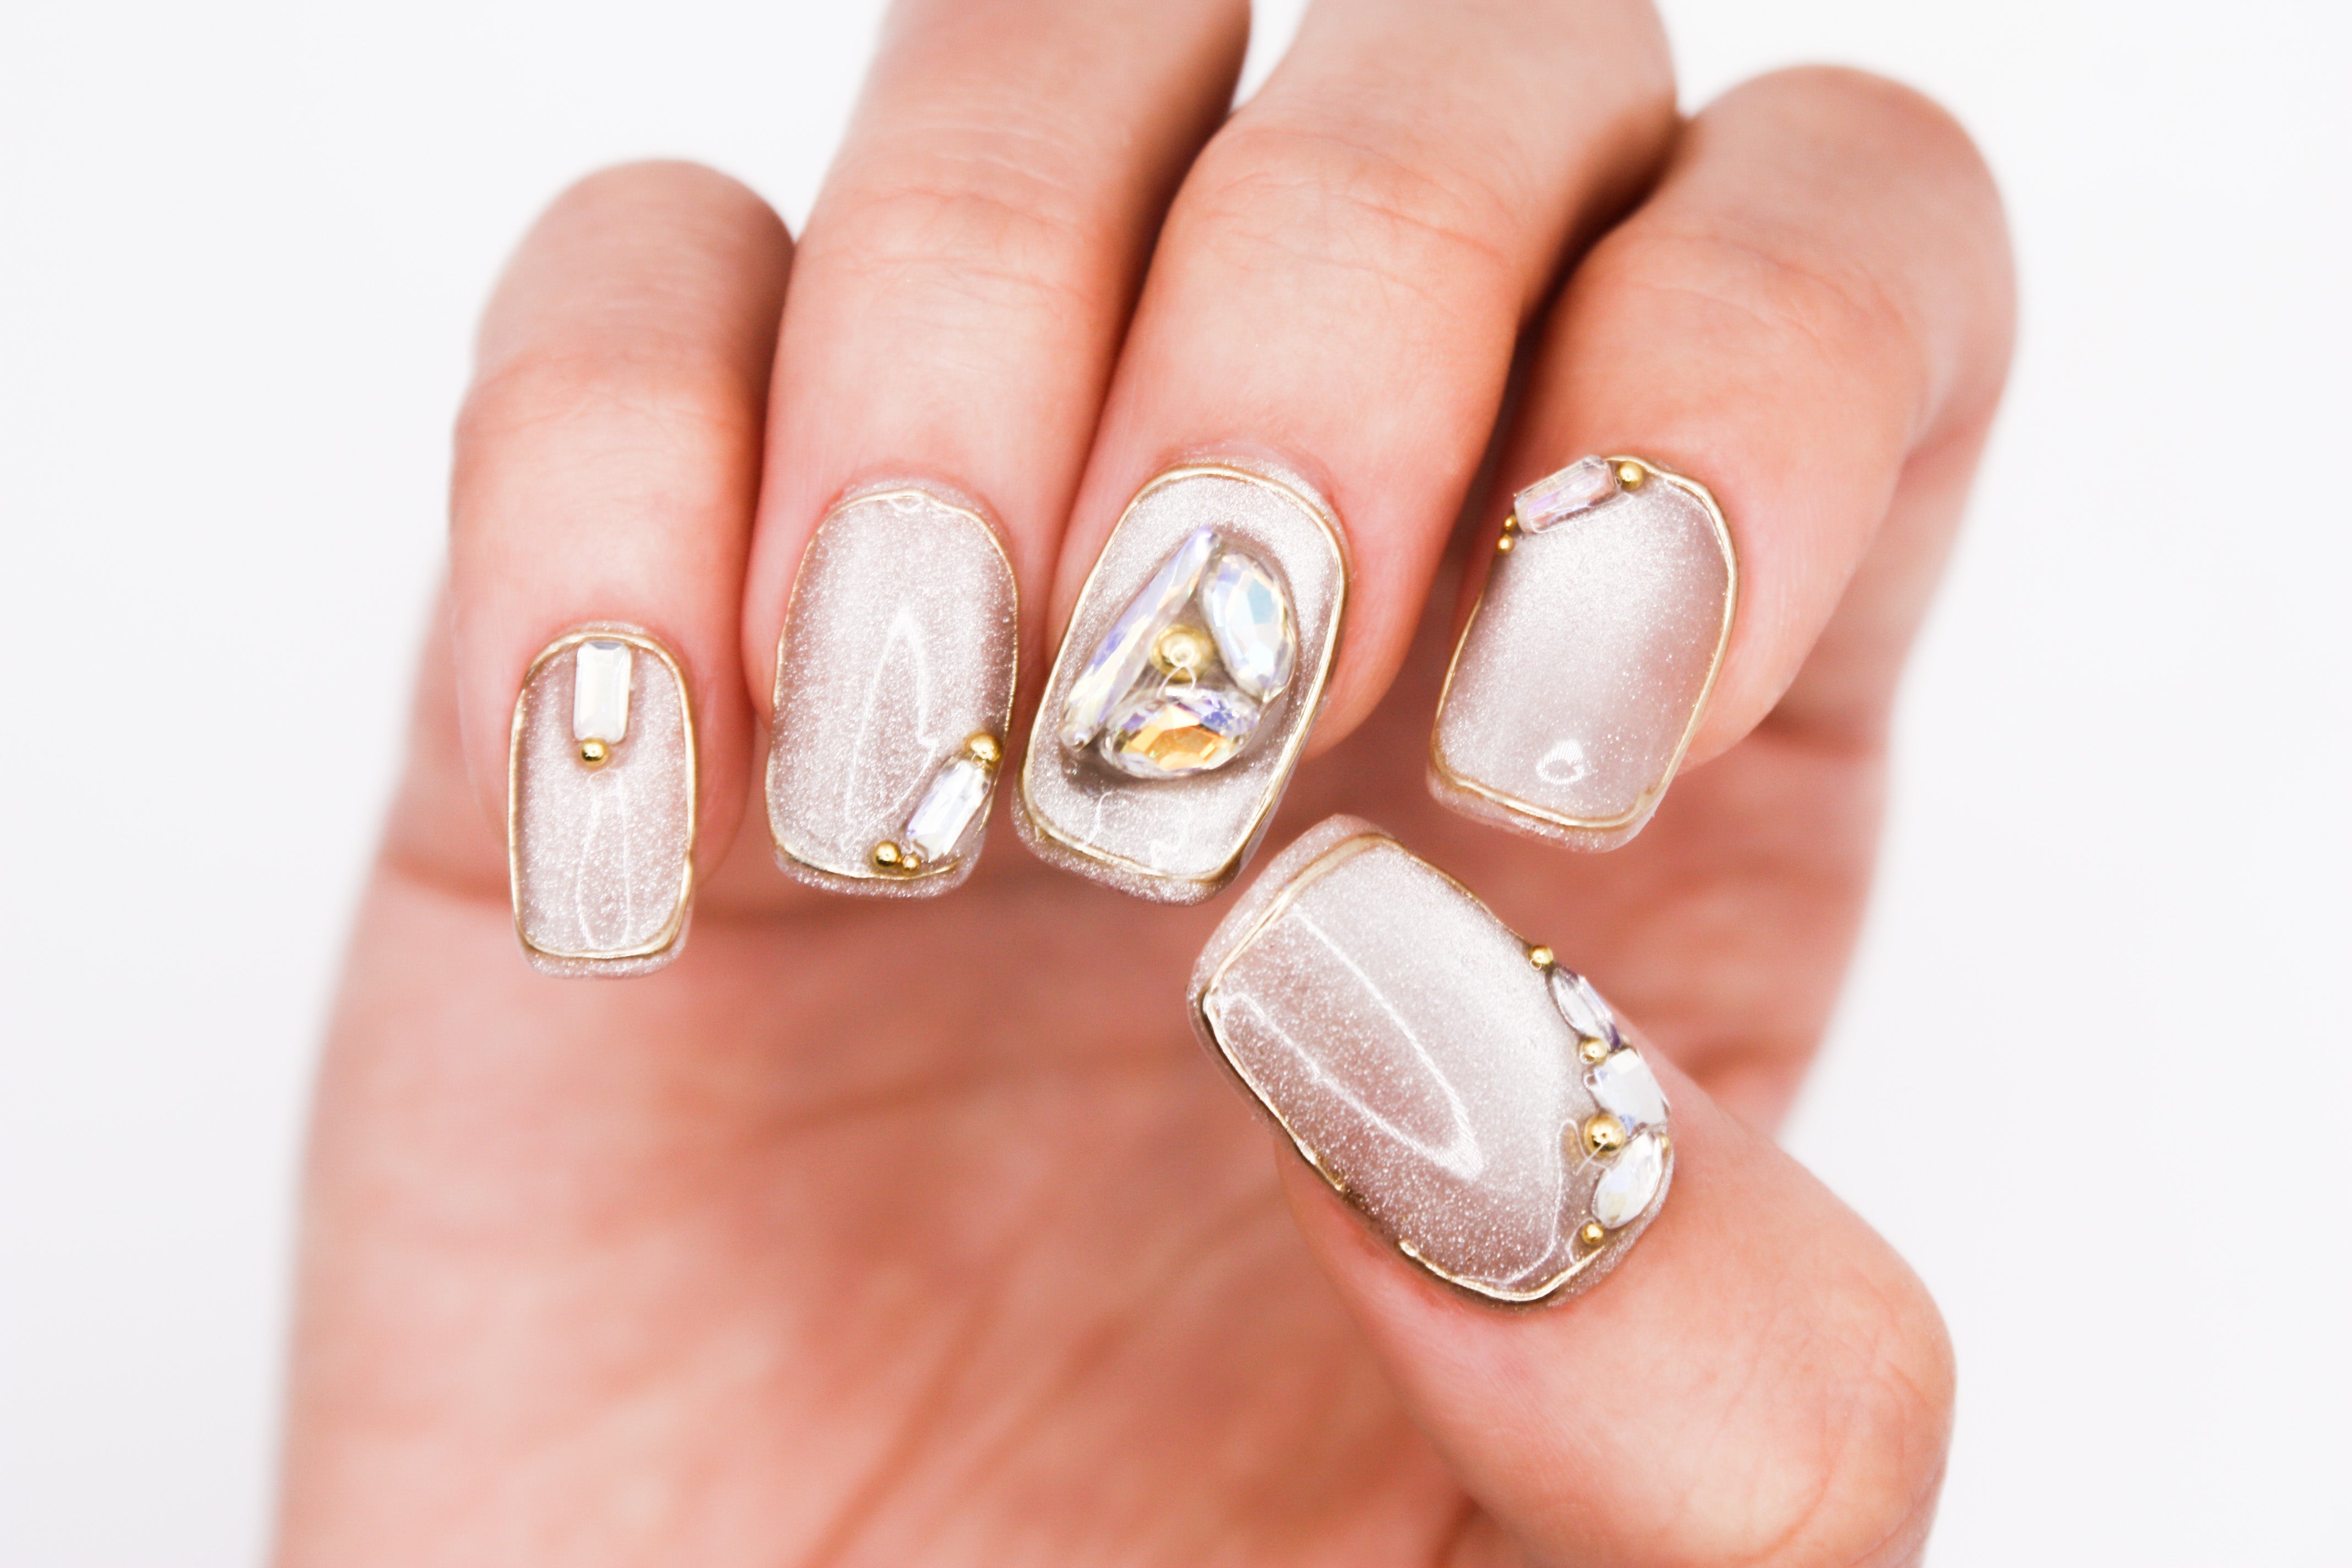
With proper care and application your nails can last up to 2 weeks or more!
CLEANSE & PREP FIRST
Preparing your nails is a critical first step.
Wash your hands with soap and push back your cuticles with a cuticle pusher to remove excess skin (wooden cuticle pushers are included with every BLING BAR Press On Nail Set).
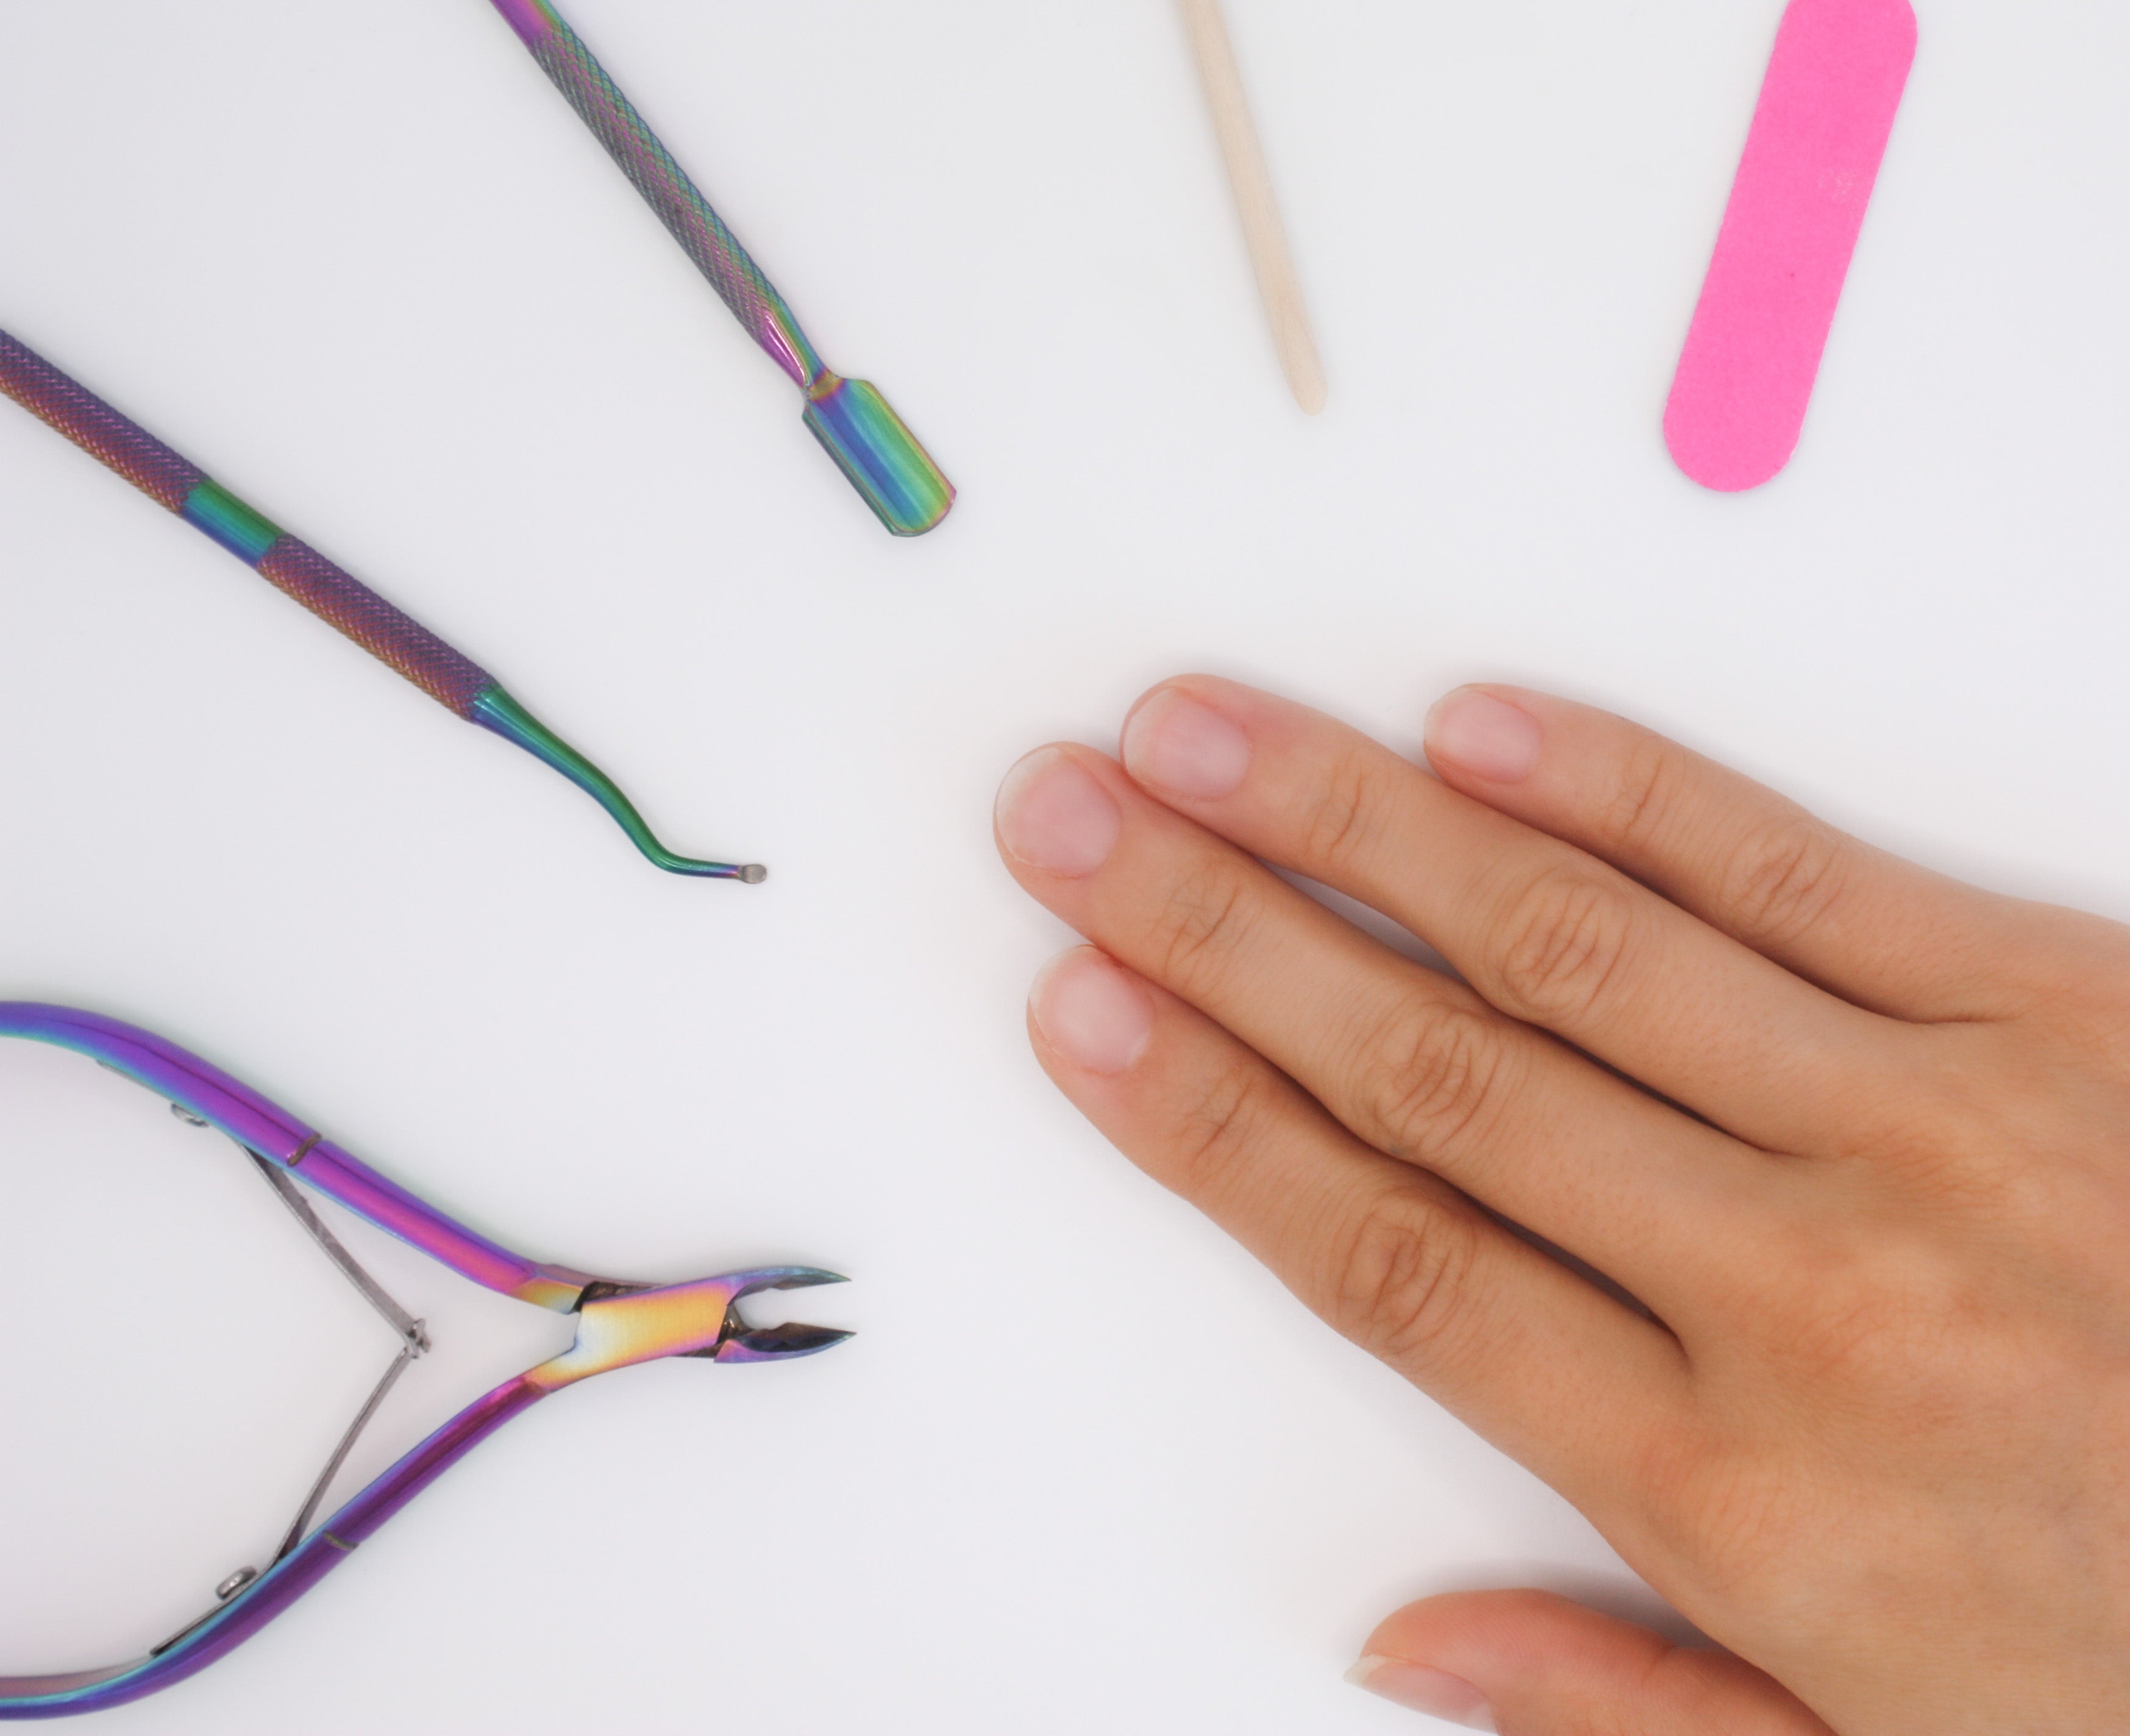
CLEAN YOUR NAIL SURFACE
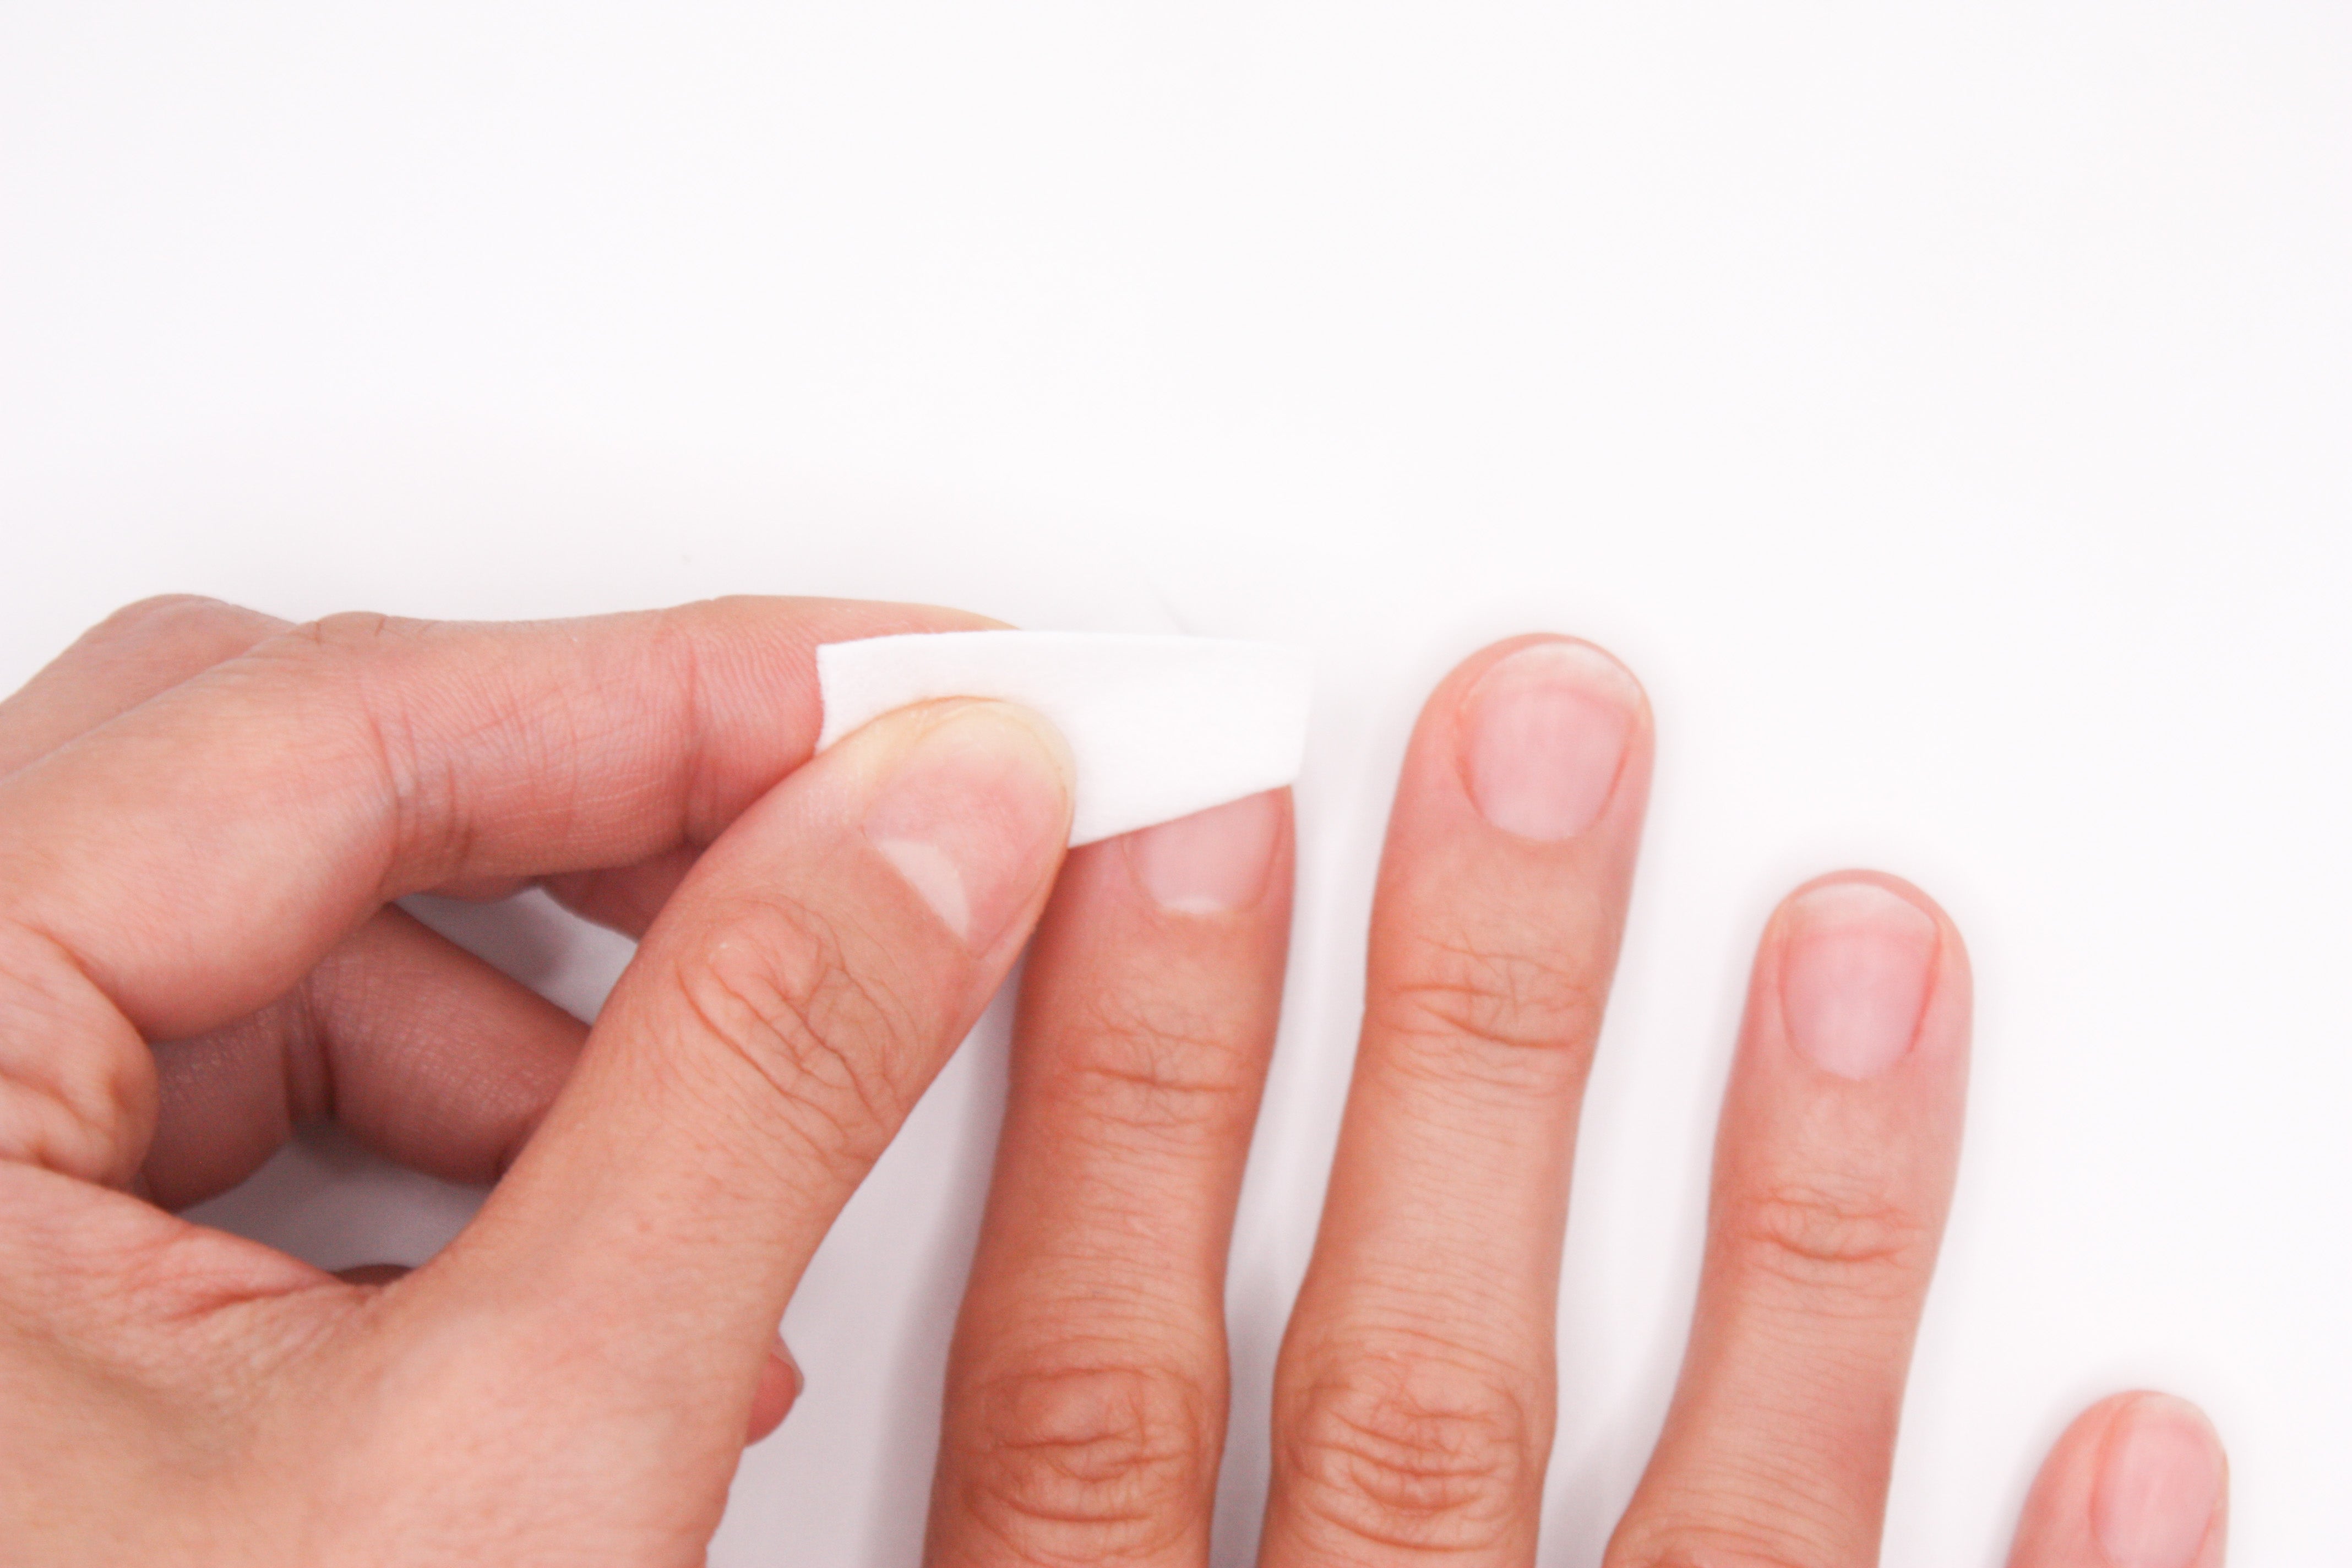
Clean your nail surface with the included alcohol prep pad or a cotton ball soaked in rubbing alcohol. This step removes oils and dirt, ensuring better adhesion for the press ons.
It's also a good idea to remove any existing polish.
FILE & SHAPE
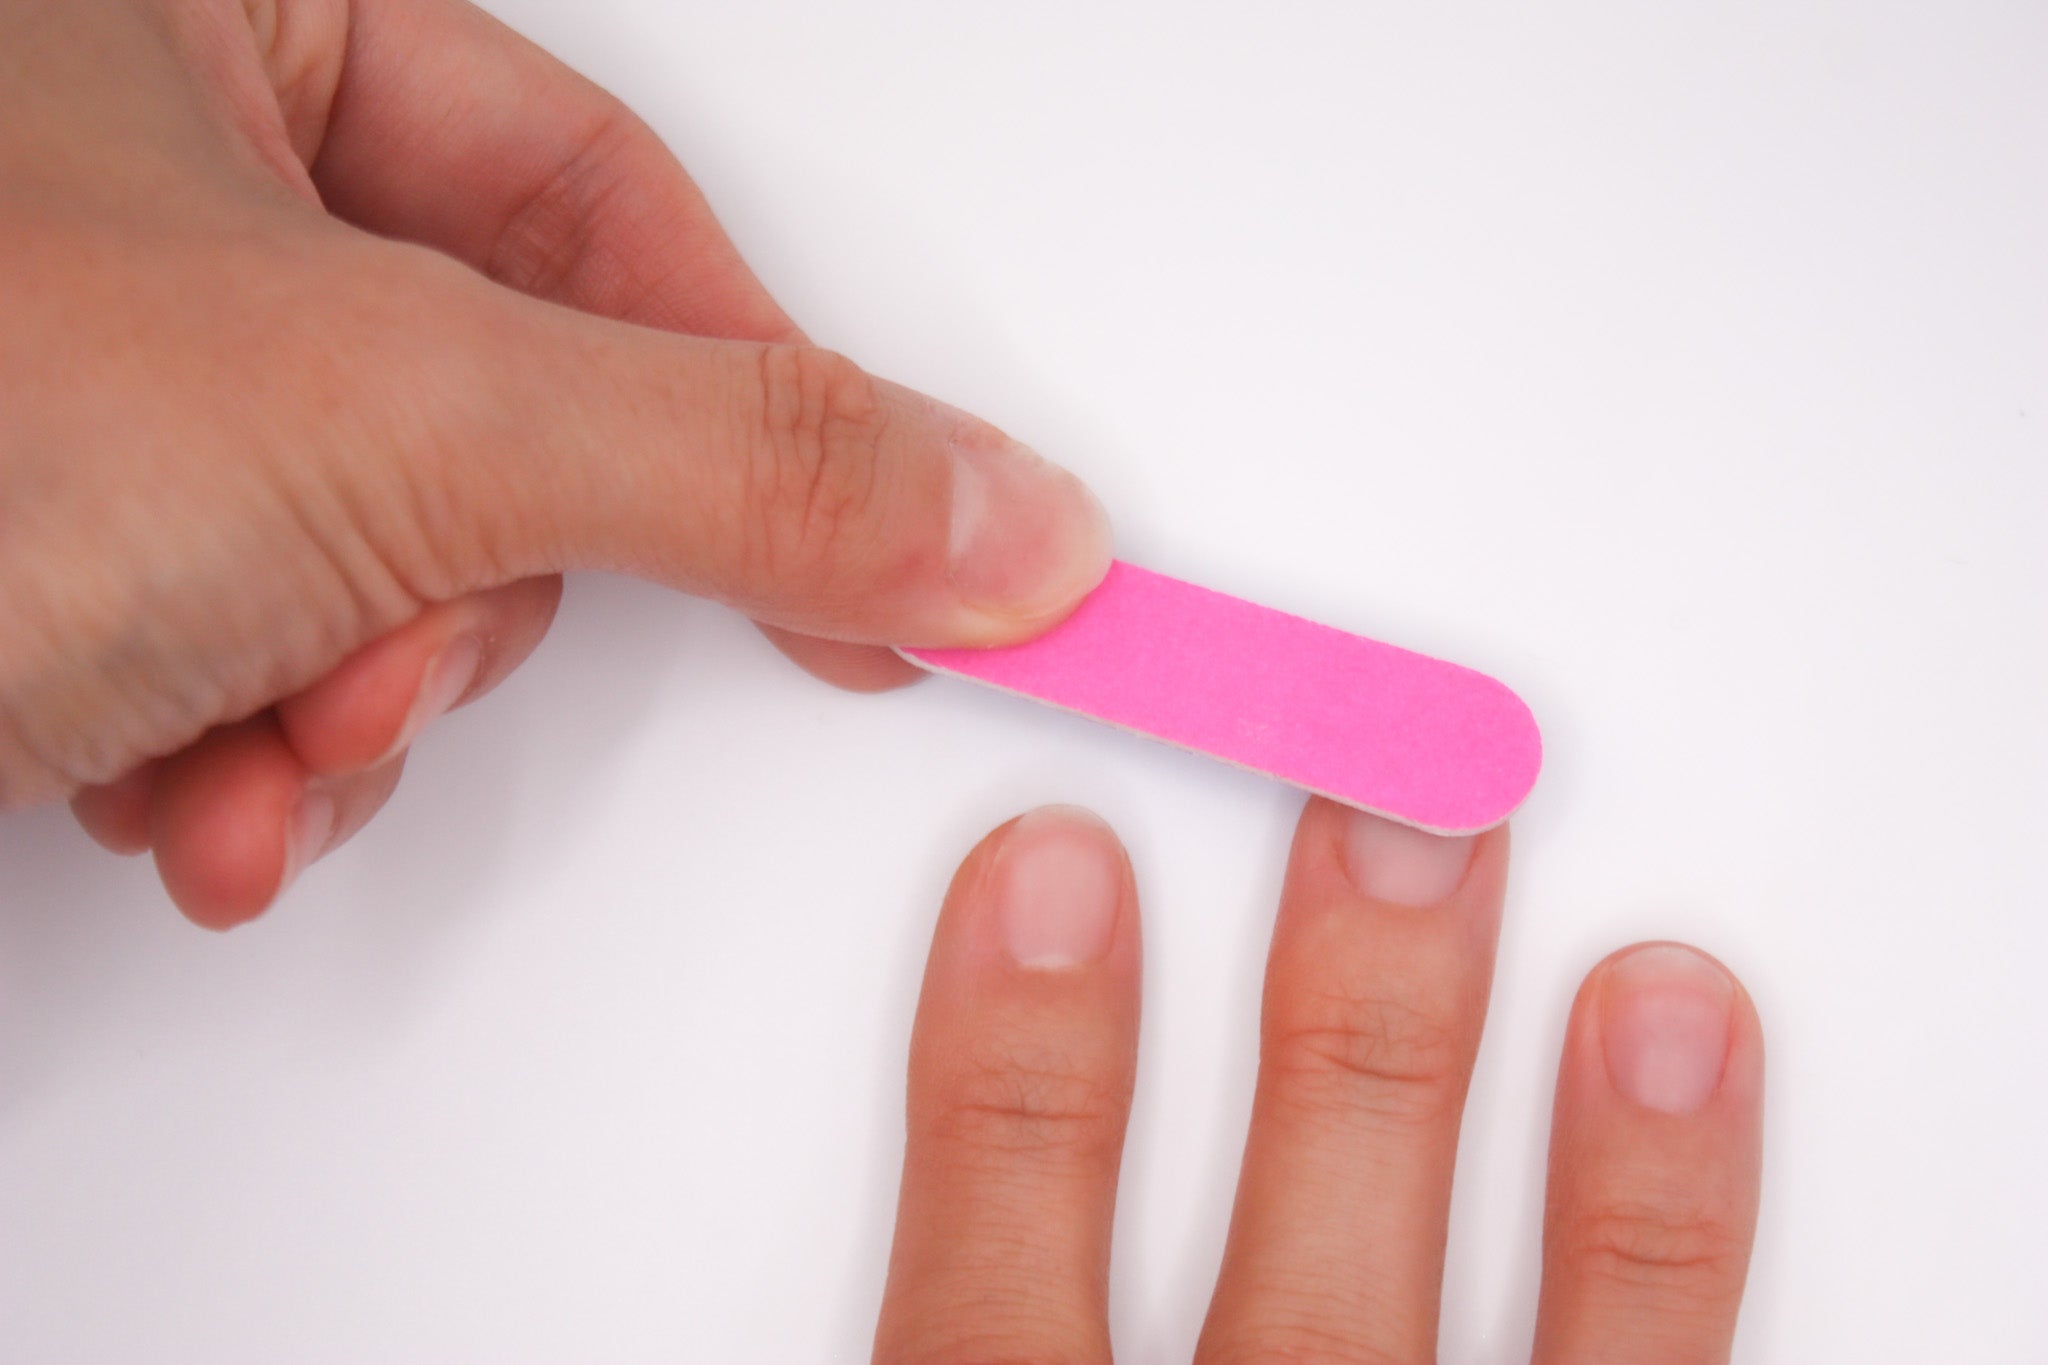
Use the file to gently shape your nails in one direction, moving from the outer edge towards the center.
This step helps achieve a natural and well-groomed appearance.
SELECT THE RIGHT NAILS
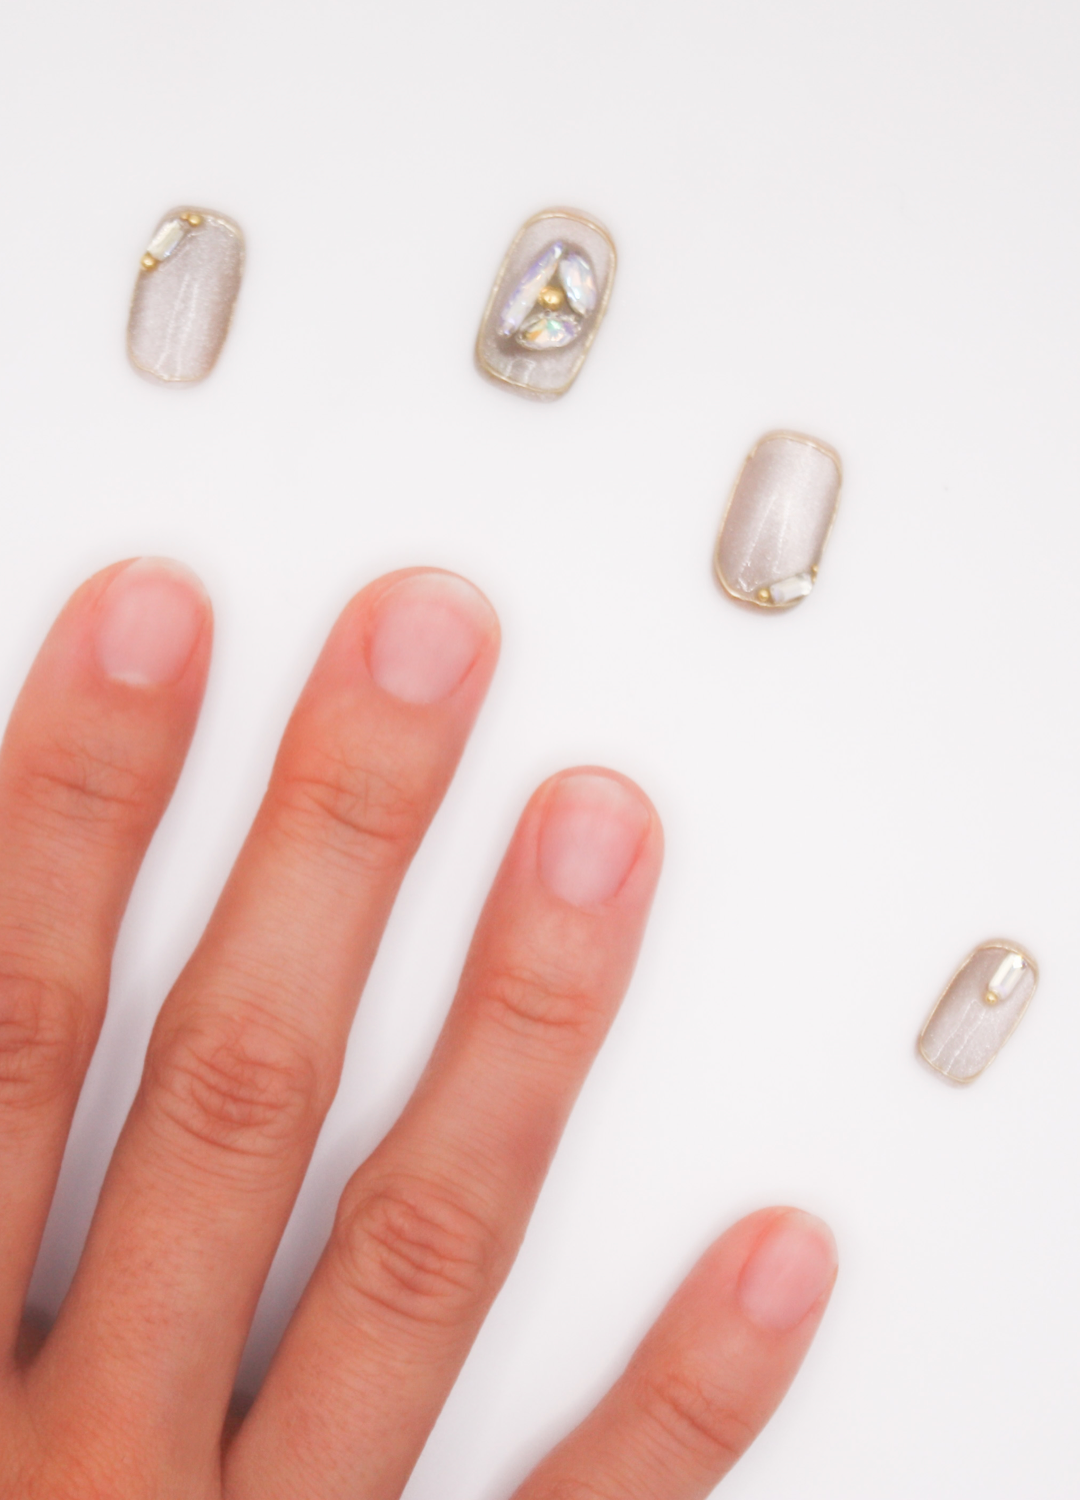
Take your nails and match them to your natural nails, finding the sizes that fit each of your nails best.
Lay them out in order, so they're easily accessible during the application process.
Click below to learn how to find your perfect nail size.
TIME TO APPLY GLUE
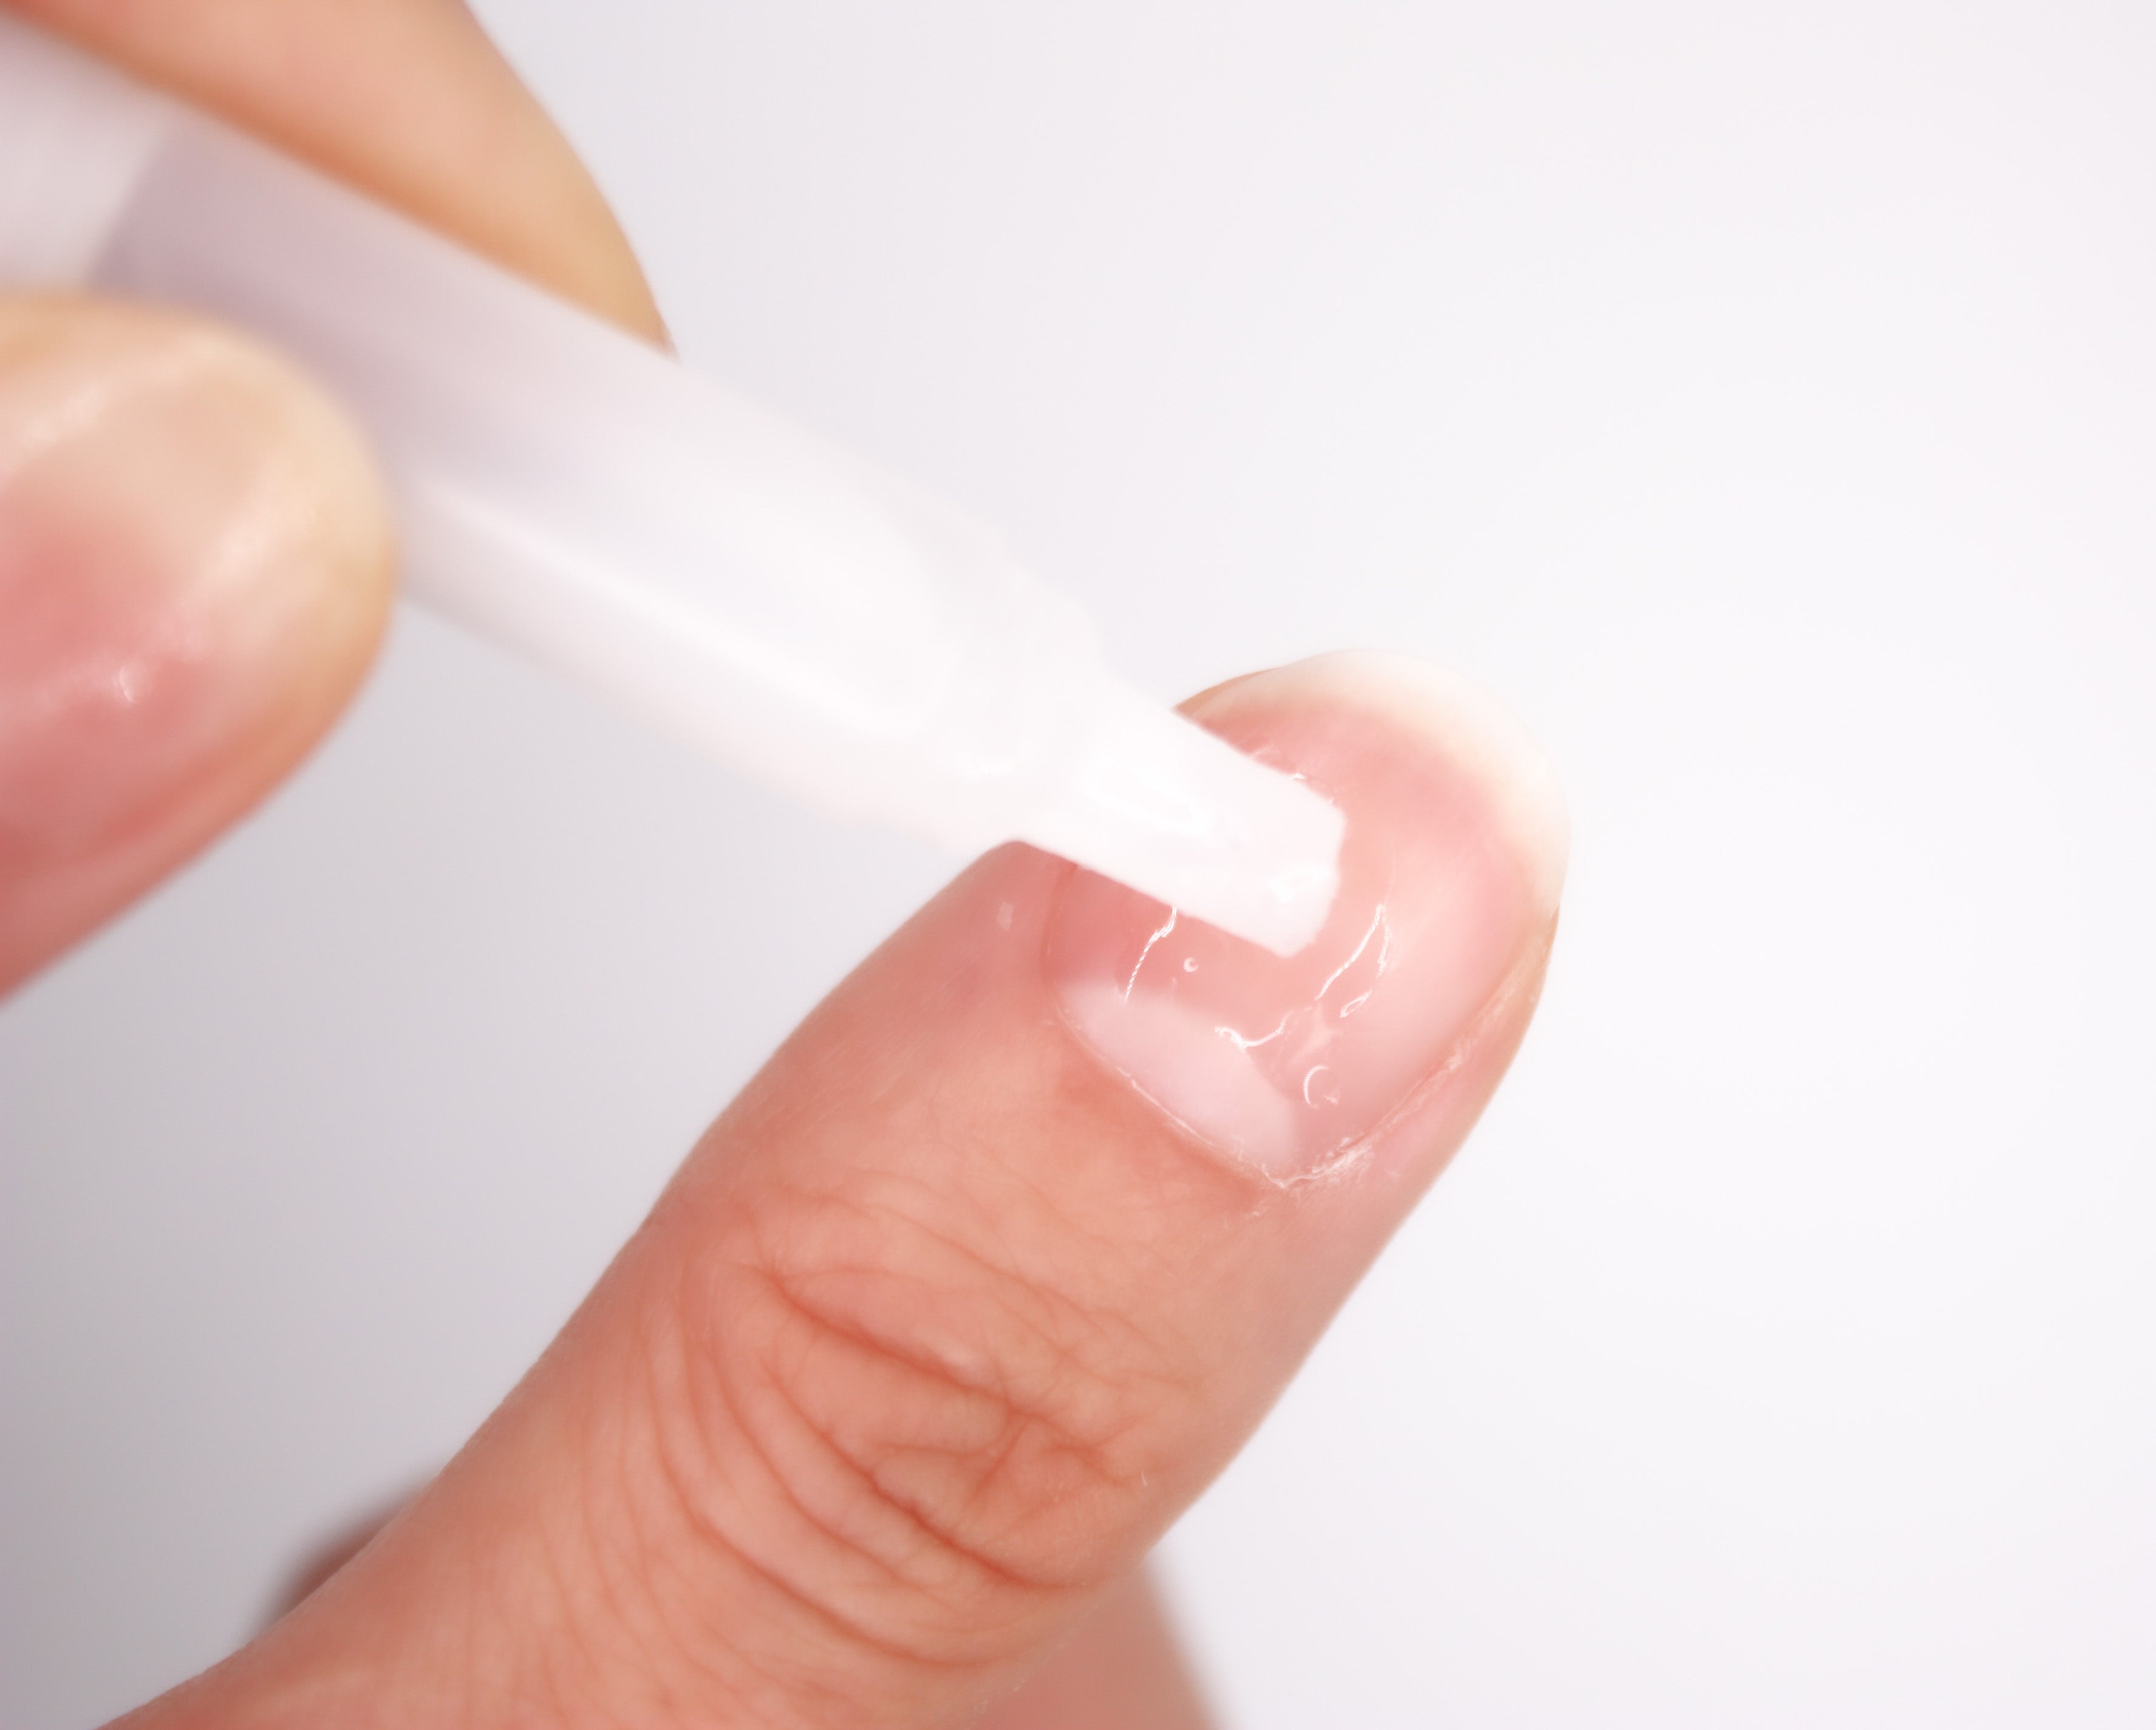
Apply a small amount of BLING BAR Non-Damaging Glue to your natural nail.
Apply the glue in a thin, even layer, covering the surface of your natural nail.
ALIGN & APPLY YOUR PRESS ON NAILS
Starting with your dominant hand, carefully align the nail with your natural nail, starting from the cuticle area and pressing down towards the tip.
Apply gentle pressure to ensure the bond. Hold the nail in place for around 15 seconds to allow the glue to set. Repeat for each nail.
MAKE YOUR PRESS ONS LAST
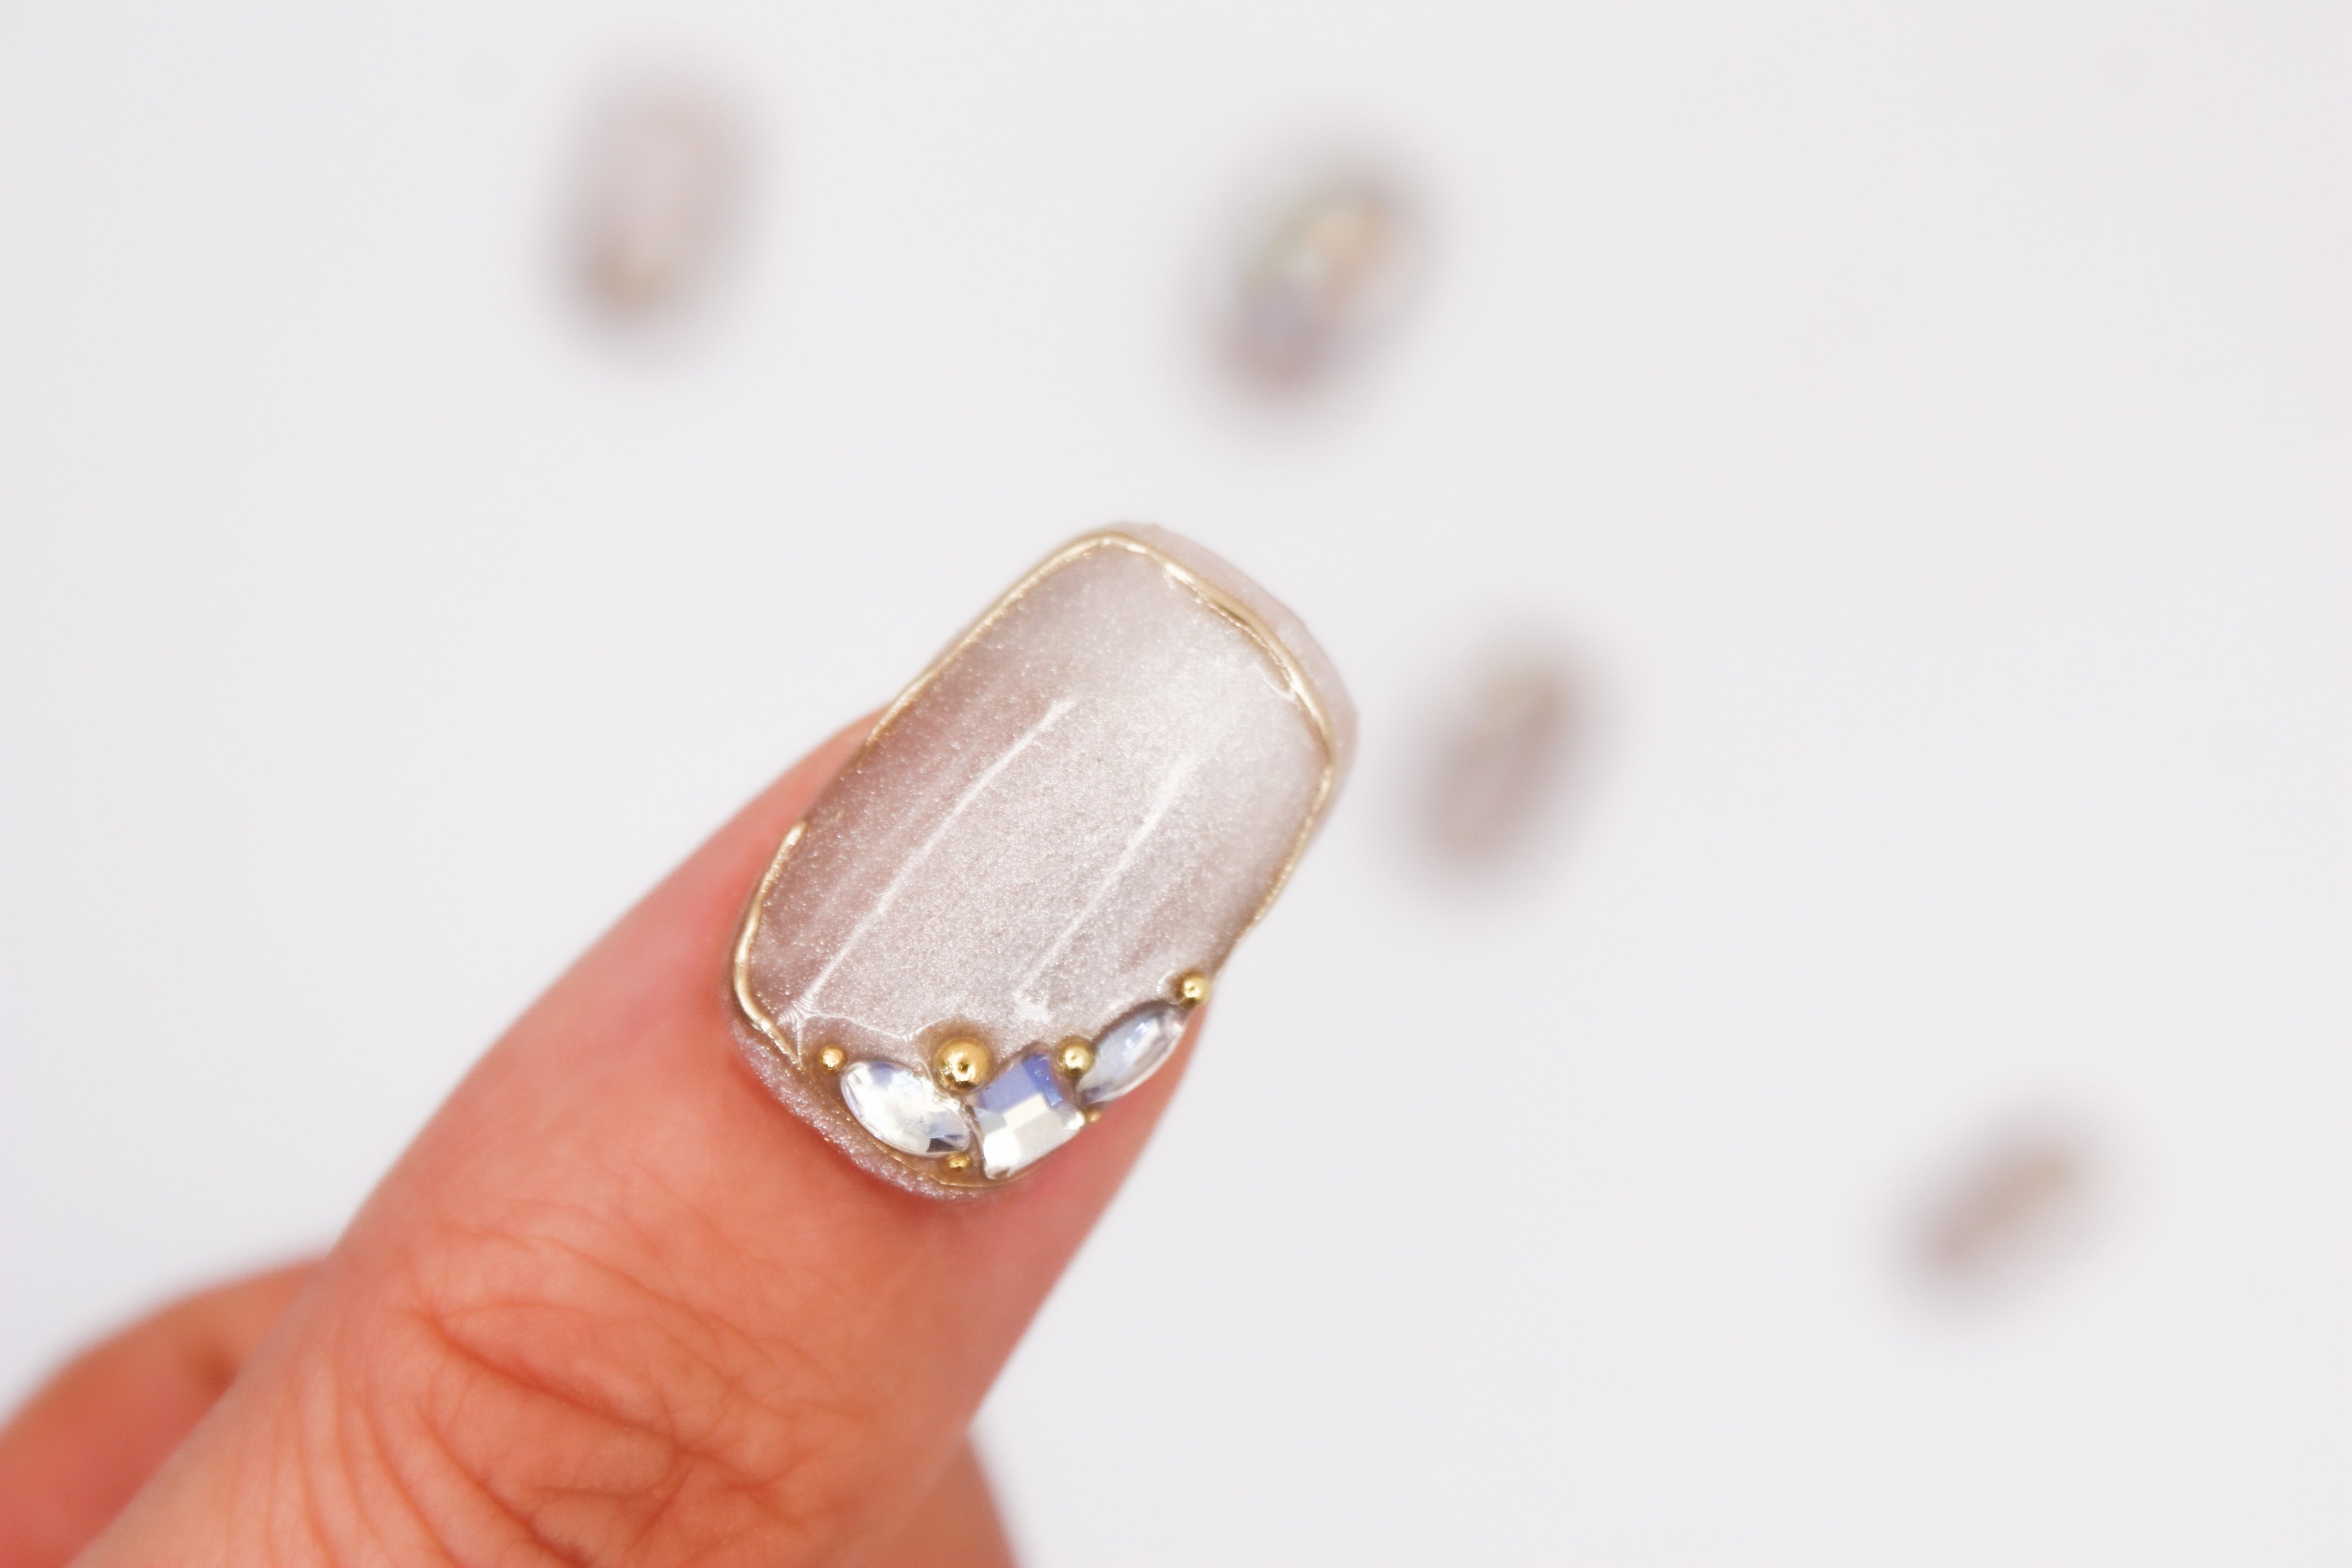
Avoid excessive exposure to water for the first few hours after application, as it can weaken the glue.
When doing tasks that may put strain on your nails, such as typing or using tools, be mindful to avoid excessive pressure.
If a press on starts to lift or becomes loose, gently remove it and reapply with a fresh layer of glue.
